7 steps to a professional touch in wordpress
7 steps to a professional touch in Wordpress
 |
| Photo by Andrea Piacquadio from Pexels |
It always started when you wanted your business to gain credibility, gain reputation or you are a freelance blogger looking to look more professional to clients but all you ever hear was "you're not taking your business seriously".
Yeah of course Using a free version of a site can make you seem less professional and a little bit trifling with your business.
But what if you don't have the money to upgrade to a self-hosted site?
There is absolutely no shame in that as you can always upgrade to a self-hosted WordPress website whenever you feel it's the right time and you have the right budget.
So I figured out a way to get around all of this.
and you don't need to be all that tech-savvy to implement this but you just need a little bit of web design ( literally a bunch of drag and drop buttons ) to set free of that unprofessional feel while still working on a free-hosted website.
👋🚨🚨
Are you ready to gain credibility ready to distinguish yourself from other freelance bloggers and make your site look more appealing to potential clients ?.
I bet you do 😎
so here are my tips to get you started...
1. Look for a great theme.

Now it's time to kick out that generic theme that everyone else is using, the theme that always makess prospective clients sees you as incompetent ( sorry to say that but it's true ).
You always heard about people talking about all those premium WordPress themes.
But do you know there are also free themes that lookprofessional
Just like this one

And this one

Actually,, there are hundreds of them and I will suggest some here in the post
Now to choose a theme click on my sitess at the top-left-hand-corner on your screen and scroll down to Design and click to reveal the hidden options, now click on themes this is where you will find hundreds of themes to choose from as well know which theme is active.
Are you ready to invest a little on your site
Well then feel free to purchase a premium theme if not filter the results to free on the top-right-hand-corner.
The good news is you can click on the three dots { indicating options } to explore some of the things you can do with the theme which includes: Live preview, activate, info and support just like this
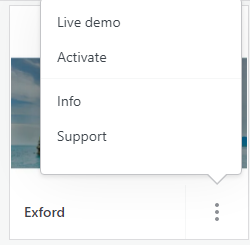
select preview to see it live and from then you can tell f you like it or not before activating it you can even go further by playing with the customization to see how it will look on the site.
Some themes I personally like :
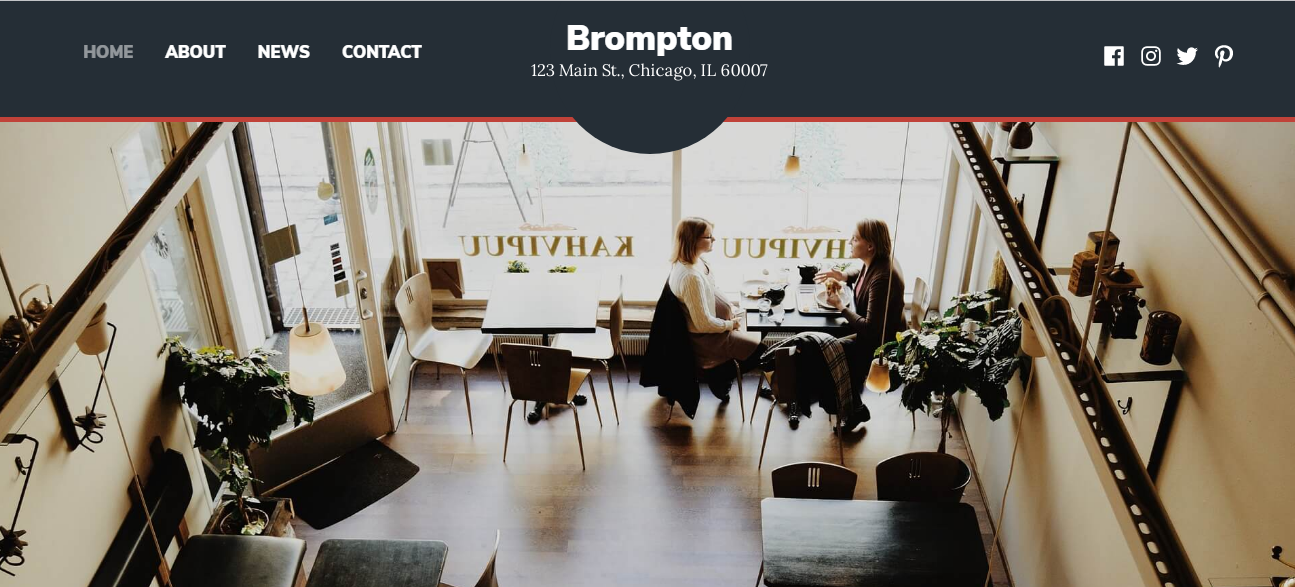 |
| BROMPTON |
 |
| Morden |
 |
| Lodestar |
 |
| IXION |
2. Choose a custom Domain name.
I can understand that you're not ready to start investing in this but a Domain name is worth having
I assume when a client askss you what your website URL?
You don't want to say www.yourdomain.wordpress.com actually that sounds unprofessional 😔 because everyone knows that you are using a free hosted website and there is a 90% chance you are close to losing that client cause that screams "I'm not taking my business seriously".
A domain name will get rid of that same old generic .wordpress.com extension from your site which will increase your credibility and make your site sounds professional just from the name.
Have you decided on buying the domain name?
if not skip this part
Good !!
Now scroll down to manage in your WordPress dashboard and navigate to my domains
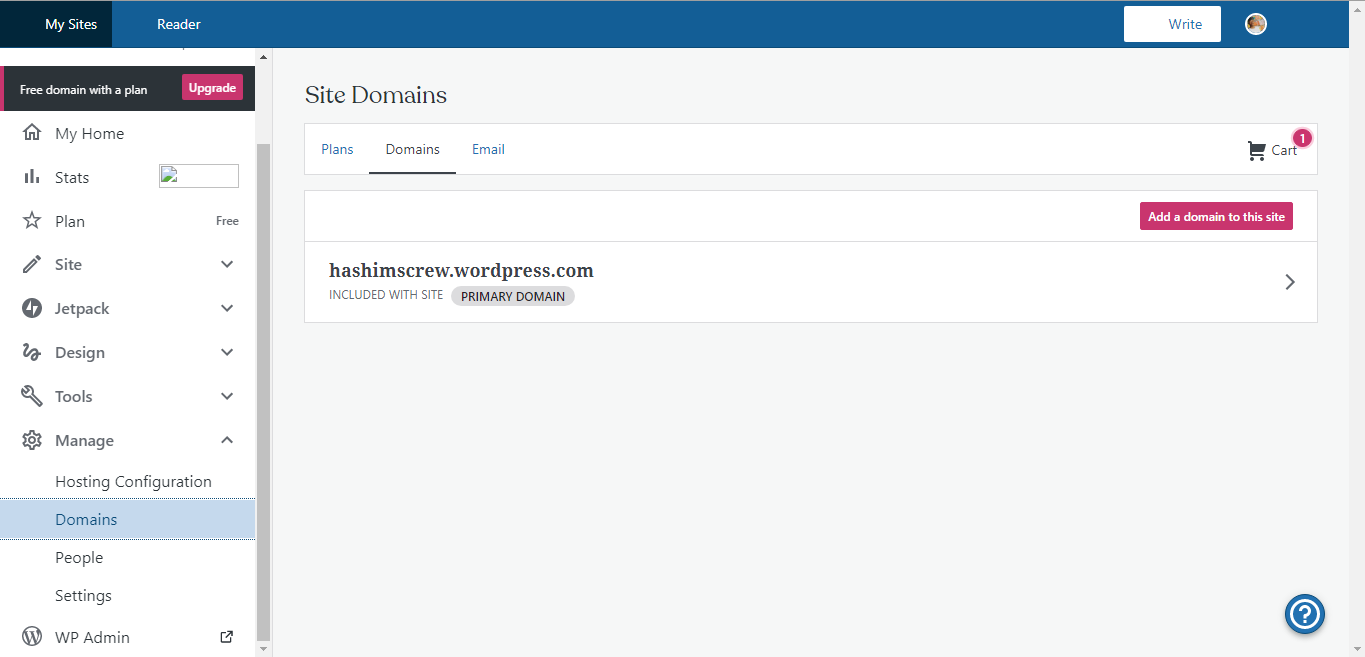 |
| WordPress Domain Dashboard |
Now you will see your free wordpress.com domain to update click on it, and to register a new Domain click add a domain to this site and WordPress will take your current subdomain alook for a TOP LEVEL DOMAIN to suggest to you like .com the Domain name from WordPress store mostly start from $18/year.
 |
| WordPress Domain name suggestion |
And if you own a domain name or Don't want to buy from WordPress then, you can alternativelyly buy from a third-party registrar like Namecheap,
But keep in mind that WordPress charges $13/year fee to use a domain name you own.
To connect a domain name your already own, on the same page choose map domains.
Note: You will have to update The nameserverss with those from the company you purchase the domain name. Don't know what a nameserver is checked this out.
3. Upload Your Logo.
Ever heard of a favicon?
or
Blavatar ( as WordPress calls it)?
Well,, that's the icon that appears at the top whenever someone opens your website in their browser tab and that'ss usually your logo.

it's super important to know how to create and add a logo to your website.
Your sitaaavatarvicon must be square and a JPEG or PNG file, and you might need to follow WordPress suggestion of 128*128 pixels photo.
You can always create a logo and many other cool graphics with canva.
Now time to upload your logo go to settings and head over to general and upload the photo from your computer, then you will be prompted to resize or crop the photo, crop it and you're good to go.
| WordPress website settings |
4. Widgets
widgets areuper important part of making a website look professional and they alsoaddtionality to your website.
with the widget, you can add a contact form, social icons, newsletter subscription form, popular or recent post and also an About-me box with your professional head-shot looking in there.
To customize your widgets click on customize it's above the theme option, WordPress customization tools will load and on the next page click widgets,

different themes offer different widget options and you may have multiple areas to choose from which includes your sidebar and the footer.
Your widget area might be populated with random widgets, I suggest you remove all and add the ones you want personally.
you can arrange your widgets by clicking and dragging to reorder your widgets.
5. Navigation menu
Every page you created on WordPress will pop-up on the navigation menu, and that's just not professional you need to be more creative than that.
if your website offers different categories of items like content marketing, social media and copywriting you will need to create a separate page for each one to show up as a drop-down item under your main service list.
Got Appearance then menus and the default menu will show up first but that will be okay except if you want multiple menus which you can always arrange later in the widget area.

If you look at your left-hand side you will see a list of the pages in your menu, then click on the checkbox that is visible next to the one you want to add to the menu, then click add to the menu, and if for some reasons there is a page you don't want to appear on the menu expand the choice and click remove.
if you also want to make a dropdown menu click your secondary menu item and drag underneath the primary item until it indents.
Now save your menu and head to Appearance or go to themes > navigations > Primary menu then choose the menu you just created. 😇
6. Comments💌
Though comments are very important there are places that you don't want to collect public comments like your Homepage and some other pages that you choose do not want to show comments unless the page is intended to collect.
Now to set up your comment function Head over to your WordPress dashboard, check all pages that you do not want comments on.
Click on the three dots above and choose edit and then click the settings icon at the top-right, now more options uncheck the comments and click update.

7. Contact info
Contact information can attract clients who are willing to become paying customers,
But just setting up contact info isn't going to cut it, because any clients tend to dodge it, for a reason that they want to see more than just plain contact info, so you need to be clear on your contact info and be able to share some personal information like Email, social follow buttons in case they wanted to contact you through social media.

Also if you want to get a call in the middle of the night then you can include your mobile phone number 😉.
make your contact info appear where prospect might find it no matter what and a good place might be in your sidebar or your footer.
To add your contact info to your sidebar just click on add pages under the widgets and recall arranging your widget that we talked about, it's super simple to use a built-in contact info widget or uses the text widget to add your contact info.

So Guys this is all about making your WordPress website look more professional.
Is there any step I miss?
Or
Probably anything you think I skipped and is worth mentioning?
Let's talk in the comment section below😇
Countdown Timer
Time Remaining: 05:00
Post a Comment